Find a project close to what you need, put your own logo and business name on it, then print. This walkthrough uses the Invoice project, but the steps apply to anything in the Project Library.
-
Get it. Download Invoice from the Project Library and open it with Open File in the Main Menu. (In the web app, use its Open in App button.)

-
Edit it. Choose Edit from the main menu to open the Project Editor, then tap the layout file,
overlay.canvas, to open the Overlay Editor.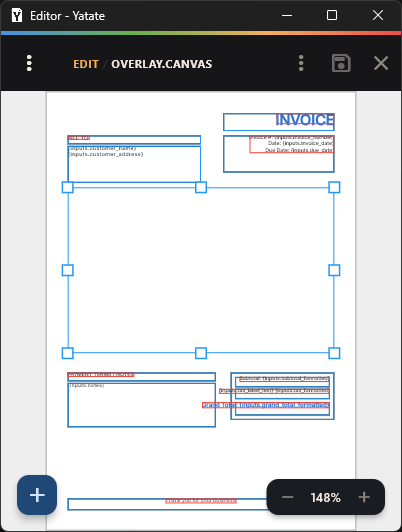
-
Brand it. Select the logo image block and point its source at your own logo. Select the title text block and change it to your business name.
-
Save. Choose Save in the main menu. Without it, your changes are lost when you open another file.
-
Fill it out and print. The app bar's Open Project button returns to the Input Form. Fill in an invoice and tap Submit, then Print or Save from the preview.
Everything you changed lives in the project's own files. Open the Project Editor again whenever you want to refine it, or see the Docs for more.